Getting Started
aeExchange is a complete cloud based auto enrolment solution helping you in managing the entire auto enrolment process from employee AE assessment, pension scheme enrolment, pension contribution calculation, contribution reports, e-filing to pension provider and employee communication.Our application has a user friendly menu and steps to guide you throughout with ease over the Internet, any where anytime.
For better understanding about how to get started with aeExchange, please follow the below step by step guidance.
You can Sign Up with our aeExchange.com just in few clicks.
1.1: Create the account
You can easily create your account with limited details within a short time. To create your account with our application follow the Road Map below.
Road Map:
Click on Sign Up Enter your company details Submit
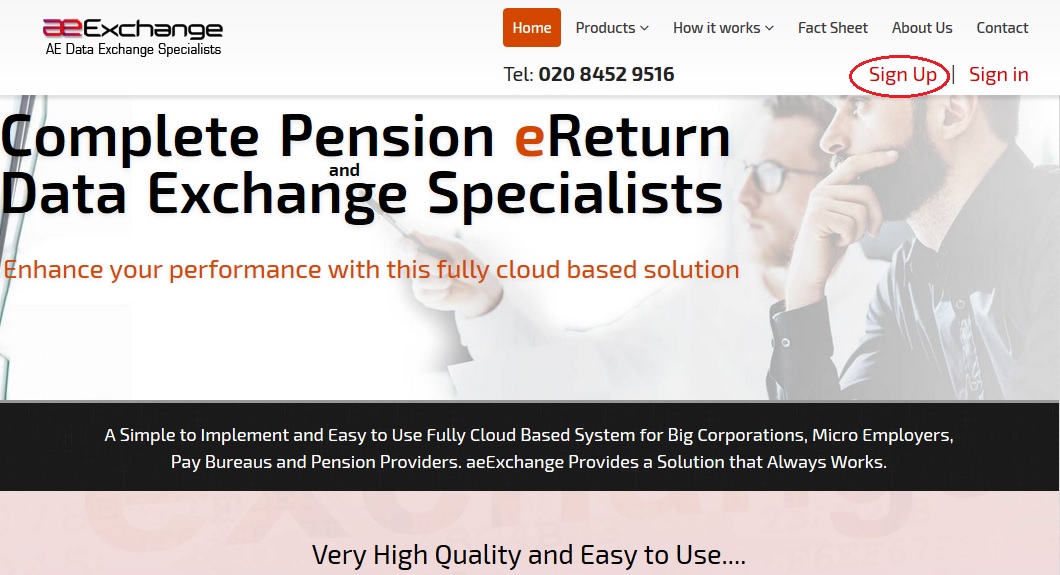
Figure 1.1.1
Once you submit your company details, we will send you an activation email containing a User ID and an activation link to your e-mail address. You can't change your user ID. It will remain the same when ever you Sign In to our services.
1.2: Activate the account
Now click on the link within the email and proceed to set up your sign in security details. Remember, never disclose your credentials to any one, as some one may misuse it. So keep it safe for your future reference.
Road Map:
Click on activation link Set up your Sign In security details (password, pattern word etc.) Final Confirmation
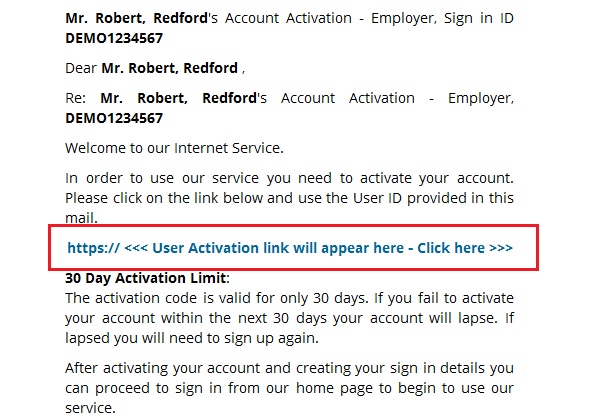
Figure 1.2.1
After successful sign up process, you can Sign In to our application anytime from anywhere. Sign In to your account with activated credentials like User ID, E-Mail, Password and Pattern word. Each time you sign in, you will be asked to enter your Sign In credentials.
Road Map:
Enter Sign In ID Continue Enter Sign In Credentials Sign In
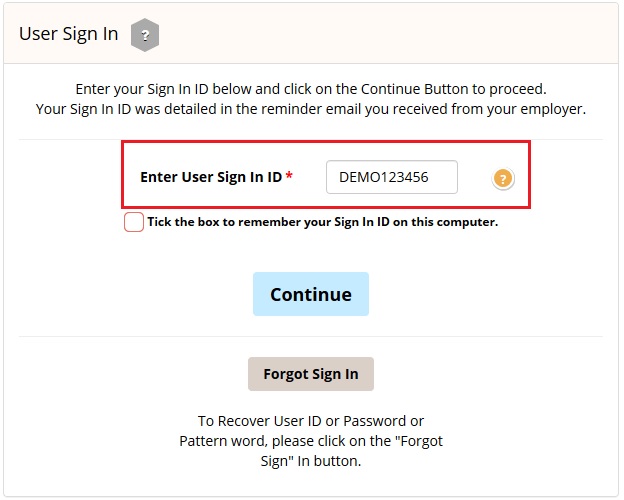
Figure 2.1
Further look into the steps below to know how you can make your AE Contribution eReturns.
There are two methods available in aeExchange to add new client. You can either add a new client manually or upload client data spreadsheet to aeExchange.
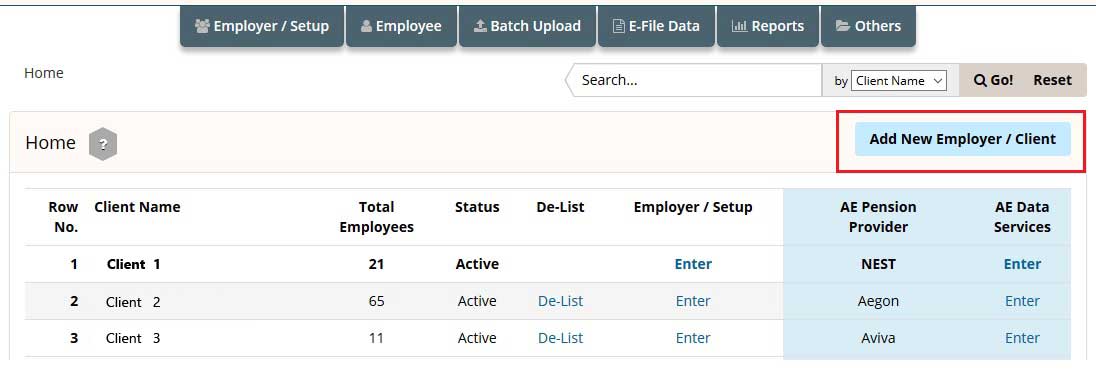
Figure 3.1
Step 3.1 Manually Add Client.
You can add new client(s) one by one entering the client details manually. Ensure that you enter details in all the mandatory fields. Follow the road map below to add new client manually.
Road Map:
Home Add New Employer / Client Manually enter a New Client

Figure 3.1.1
Step 3.2 Upload Client CSV File.
You can use spreadsheet method to add more than one client at a time. If using this method you don't need to setup a pension scheme seperately because you can enter the pension scheme details within the same spreadsheet.
Action 1 : Firstly you need to download the spreadsheet to fill in the client data. Follow the road map below to download the client details data spreadsheet.
Road Map:
Home Add New Employer / Client Upload New Client CSV File ( Import Client ) Download Spreadsheet - Importing Client Data Download Client Details Data Spreadsheet
Please Note : Always download and read the instructions before you populate your data into the spreadsheet.
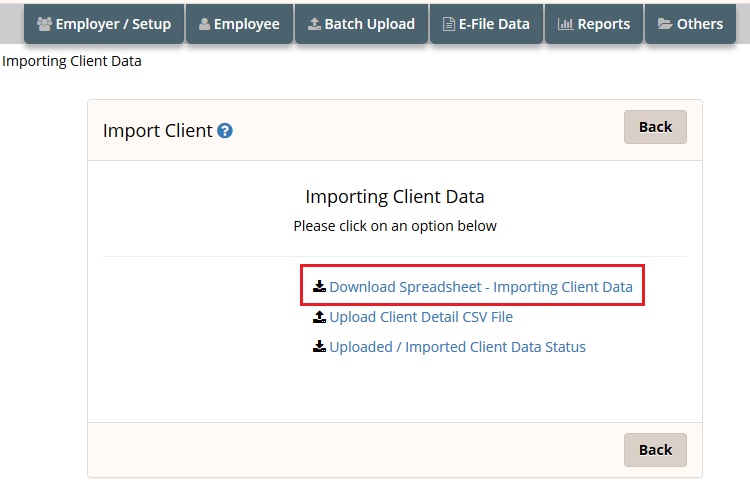
Figure 3.2.1
Action 2 : Then upload the client data spreadsheet back to aeExchange. Ensure all mandatory fields are filled in the spreadsheet.
Road Map:
Home Add New Employer / Client Upload New Client CSV File ( Import Client ) Upload Client Detail CSV File Browse Upload CSV File

Figure 3.2.2
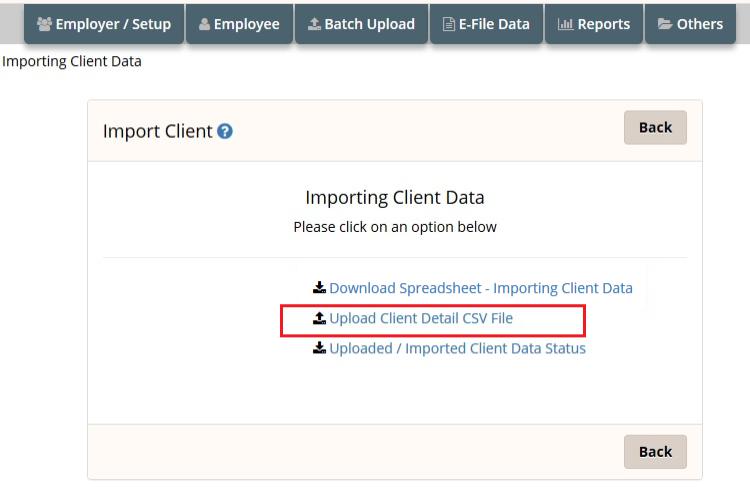
Figure 3.2.3
Action 3 : This step is to import the client data to aeExchange from the uploaded CSV file.
Road Map:
Home Add New Employer / Client Upload New Client CSV File ( Import Client ) Uploaded / Imported Client Data Status Click to Import Confirm
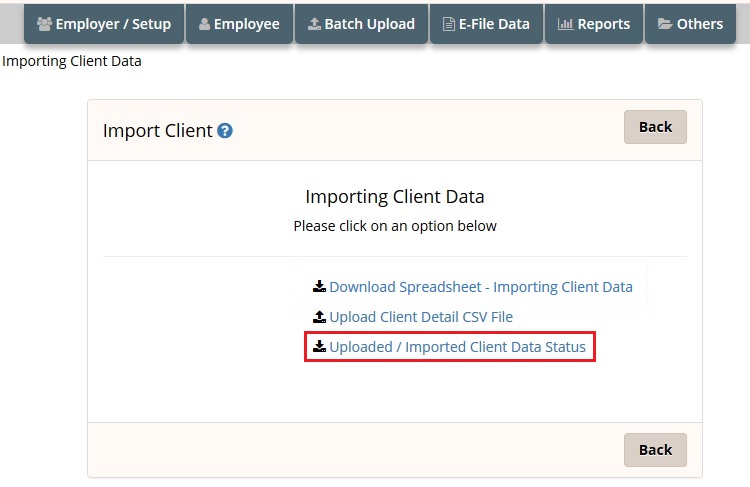
Figure 3.2.4
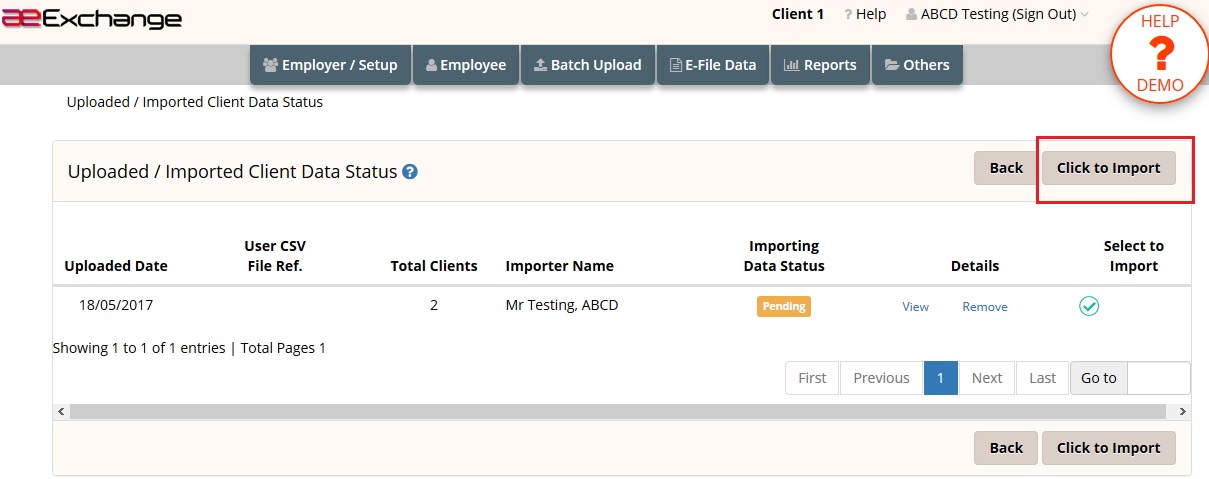
Figure 3.2.5
If you have added the clients manually, the next step is to setup the pension scheme for your clients. If you have added using spreadsheet method, you don't need to setup the pension scheme seperately because the pension scheme details will be imported from the CSV file and scheme will be created automatically. If required, you can view/edit the pension scheme details of the client(s) added using spreadsheet method.
Road Map:
Dashboard Click 'Enter' link under AE Data Services Chart of Setup Select the Pension Provider Additional AE Pension Settings Add New Pension Scheme Enter self defined pension details Save.
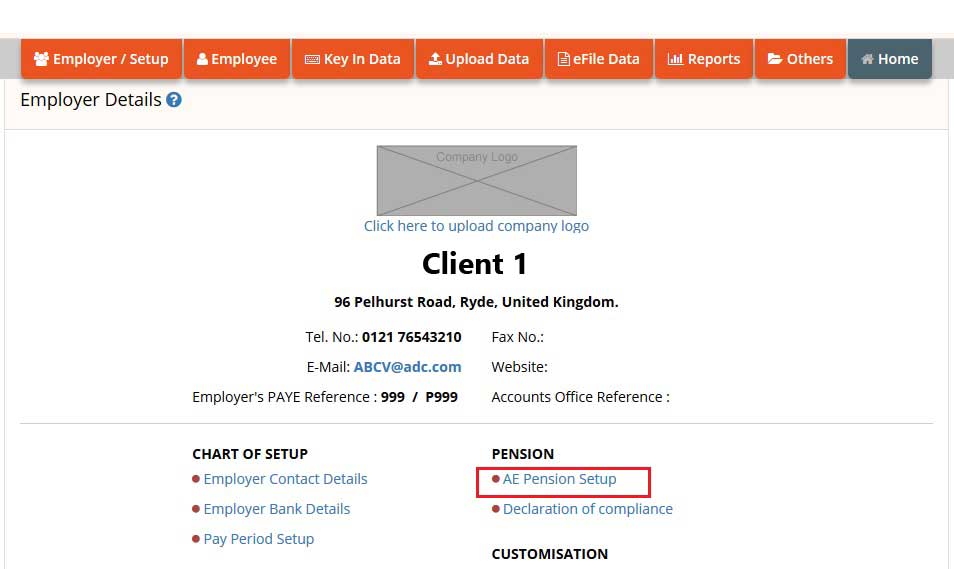
Figure 4.1
We support a wide range of pension providers from which you can choose one as per your requirement and setup the pension scheme.
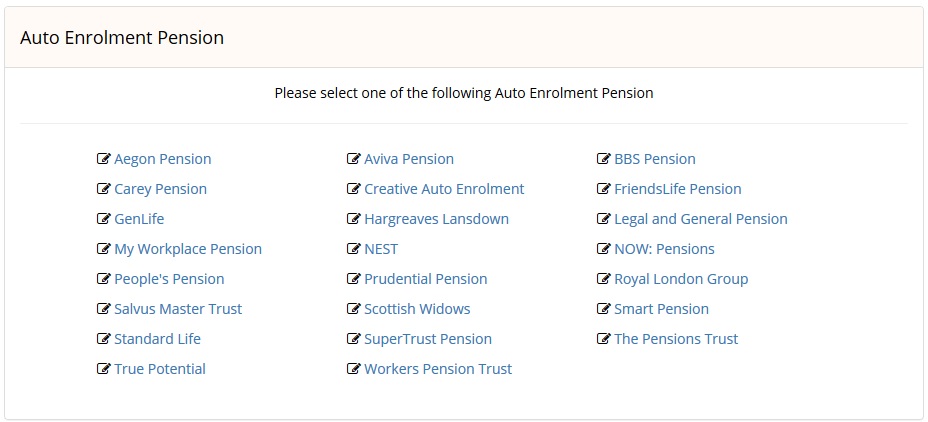
Figure 4.2
Please Note: You can also choose to set up a Minimum Compliance AE Pension, for which the system automatically assign the minimum contribution rates, and will automatically increase in accordance with the phasing dates laid down in legislation. You need to add only the Staging Date and NEST Employer Reference. The other settings are default settings i.e Deferment Policy, Pension Scheme Details, Employee Contribution, Employer Contribution.
You need to download the spreadsheet to fill in the pension contribution details of the employees. You can populate the spreadsheet with just one client's data or multiple clients' data destined for just one pension provider or for multiple pension providers. We recomend you to download and read the instructions before you populate your data into the spreadsheet.
Road Map:
Home Others Download Templates
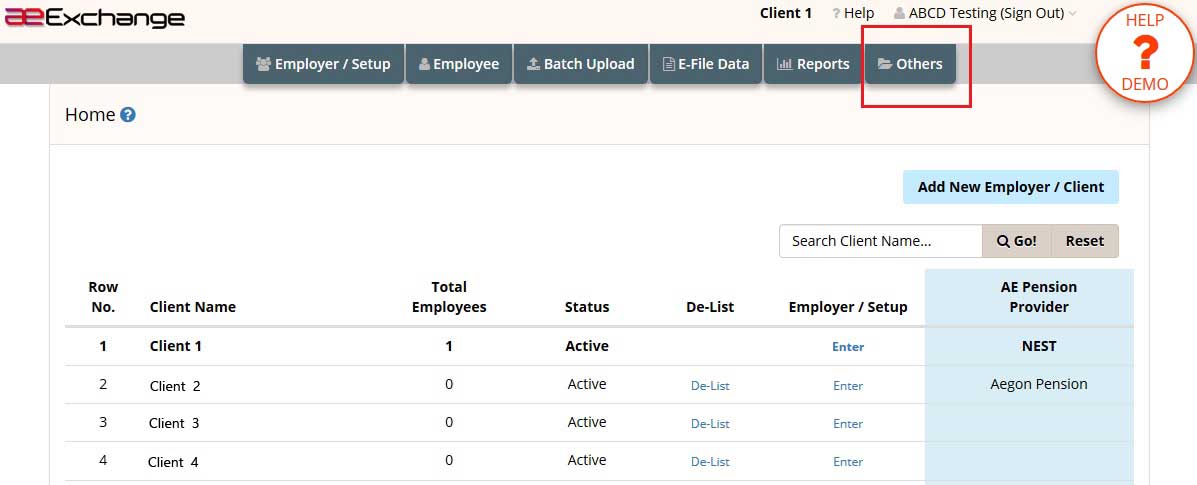
Figure 5.1
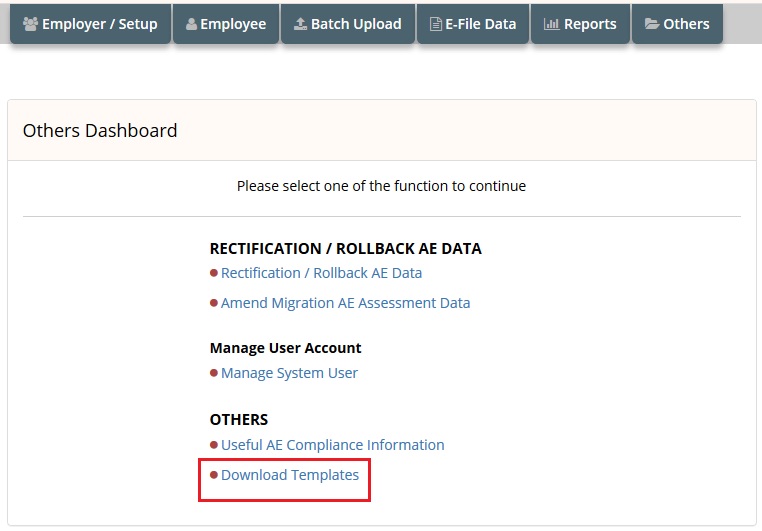
Figure 5.2
We provide you various template formats, based on your requirement you can download any of them.
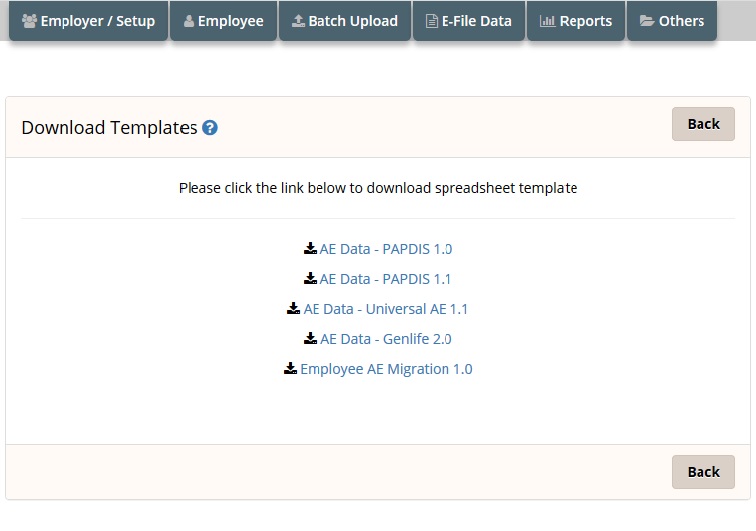
Figure 5.3
Once you have successfully downloaded the spreadsheet and filled the spreadsheet without any error, you can then upload the AE Pension data CSV file to aeExchange.
Follow the below road map to upload AE Pension Data CSV.
Road Map:
Home Batch Upload Upload Data AE Pension Data Select Tax Frequency Browse Upload CSV File Continue Sign In Password Confirm

Figure 6.1
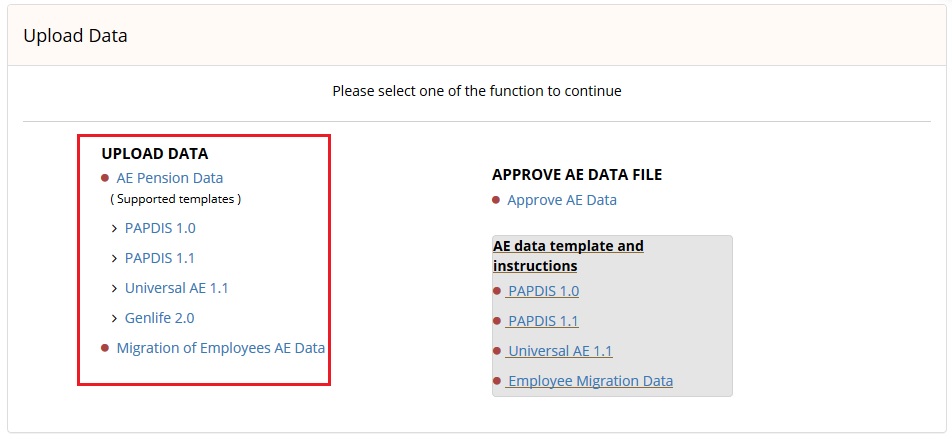
Figure 6.2
You need to approve the uploaded AE data before you proceed to e-file. Click on 'View Result' link to review the assessment details.You can approve those files for which the validation status appear as 'SUCCESSFUL'. If the validation status appear as 'ERROR', click on 'View Error' link and rectify the errors listed and upload the CSV file again.
Follow the below road map to approve the AE Data.
Road Map:
Home Batch Upload Approve AE Data File Approve AE Data Approve
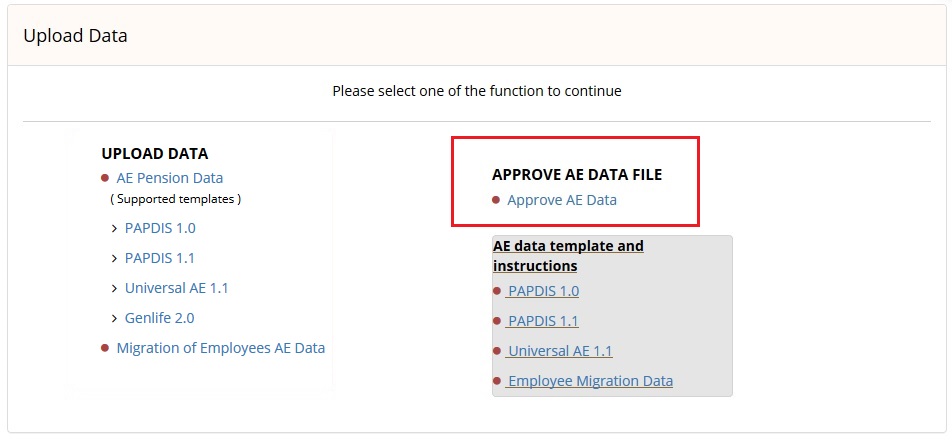
Figure 7.1
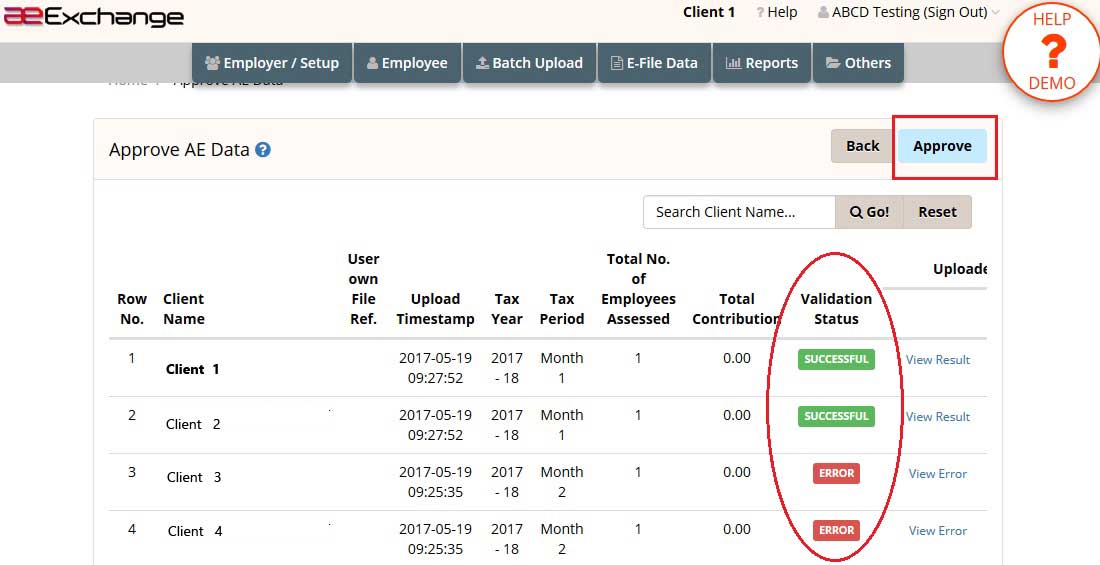
Figure 7.2
If the pension provider you have chosen are any of NEST, Smart Pension or Super Trust, you can directly e-file the pension contribution data to these pension providers. In order to e-file, you have to first setup the e-filing credentials in aeExchange.
Step 8.1 : E-filing Credentials Setup
This is a one time setup after which you can e-file the AE pension reports to the repsective pension providers (Currently this facility available only for NEST, Smart Pension and Super Trust Pension). Please follow the below road map to setup e-filing credentials.
Road Map:
Home AE Data Services Employer / Setup AE Pension Setup E-Filing Credential Setup Save
Step 8.2 : E-filing
We provide you both contribution and enrolment reports. You can e-file the contribution and enrolment reports (in batch) directly to the respective pension providers (Currently this facility available only for NEST, Smart Pension and Super Trust Pension). For other pension providers, you can download the file and upload to the respective pension provider portal. Please follow the below road map to e-file the pension contribution report.
Road Map:
Home E-file Data eFile AE Contribution data e-Submit Batch Enter User Sign In Password Confirm
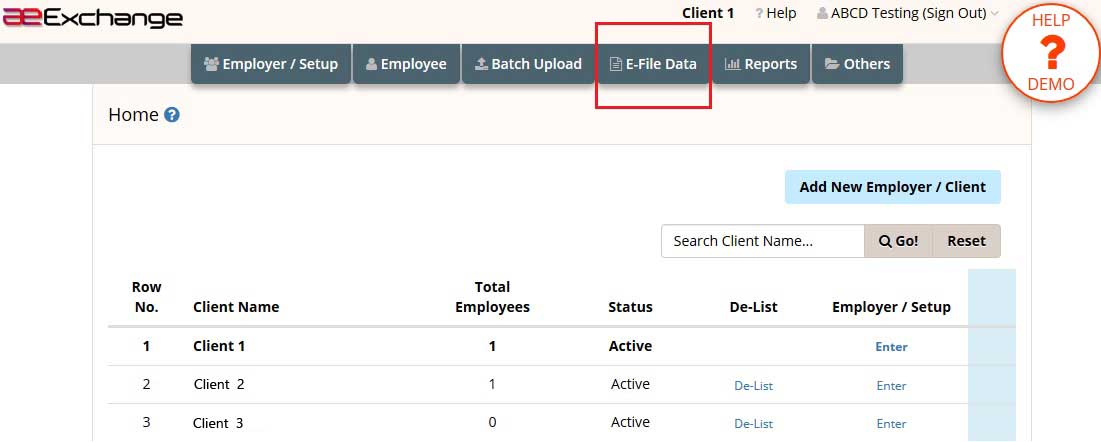
Figure 8.2.1
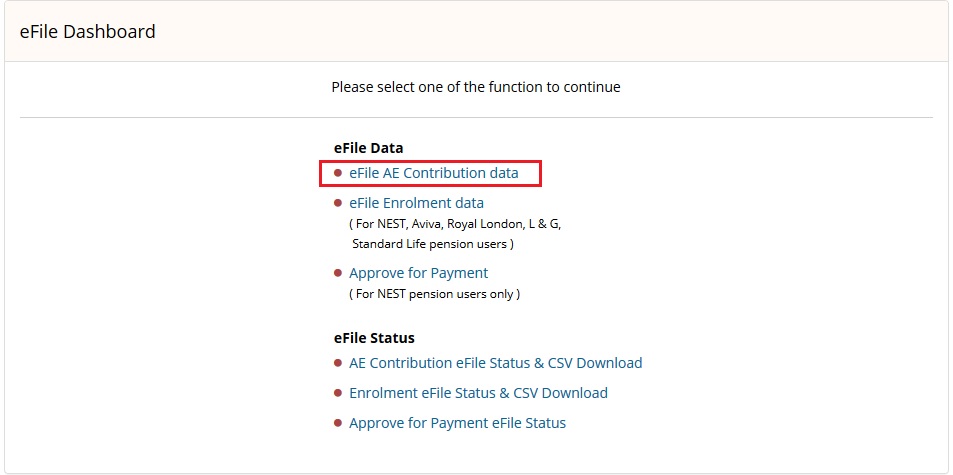
Figure 8.2.2
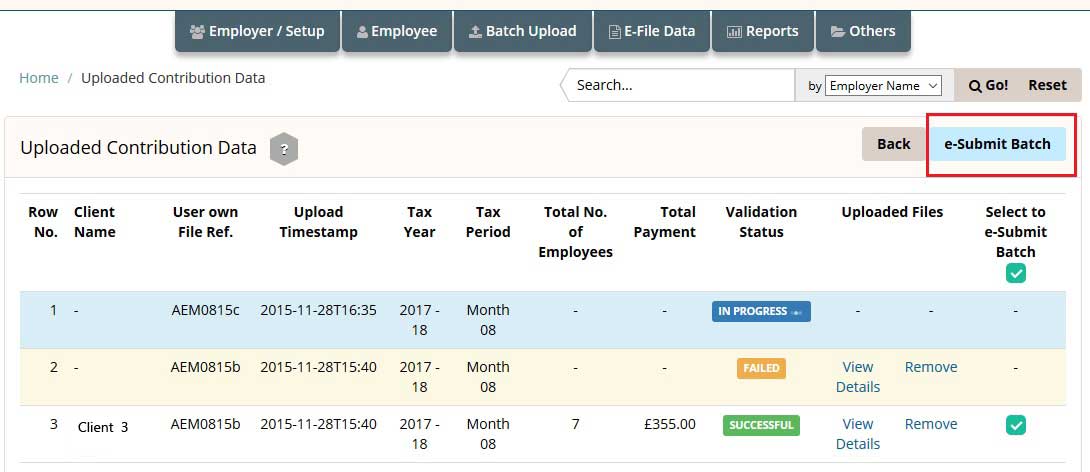
Figure 8.2.3
Please Note : To check the e-filed status, follow the road map below.If you get any error response, correct them and e-file once again.
Road Map:
Home E-file Data AE Contribution eFile Status & CSV Download Select Pay Frequency e-Submit Status
You can view/print current or previous AE Comm. Letters, Payroll Deduction Data repeort and Contributor & Non Contributor Reports from the Reports section. The payroll deduction file will provide you the AE pension data such as Pensionable earnings,Employer contribution, Employee contribution etc. You can enter these pension contribution details in your payroll application when you process pay for the employee.
Road Map:
Home Reports
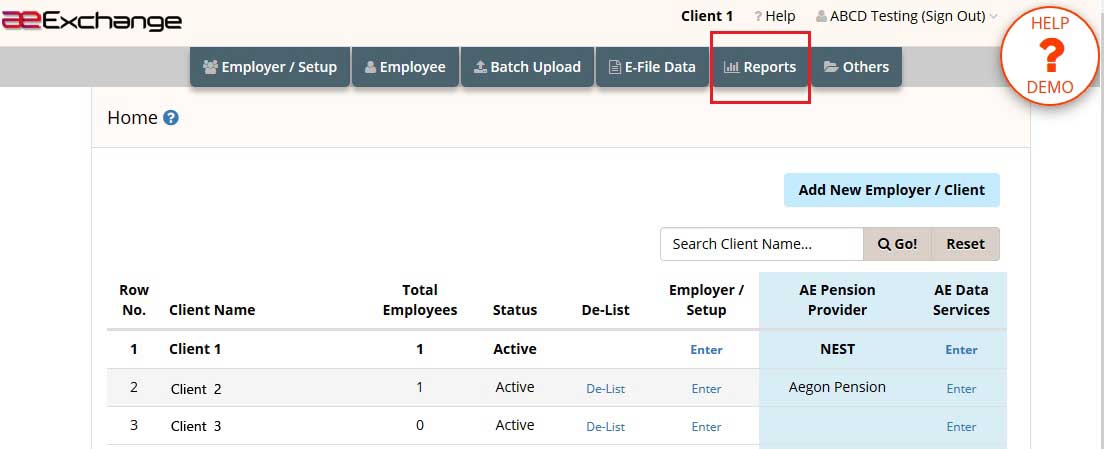
Figure 9.1
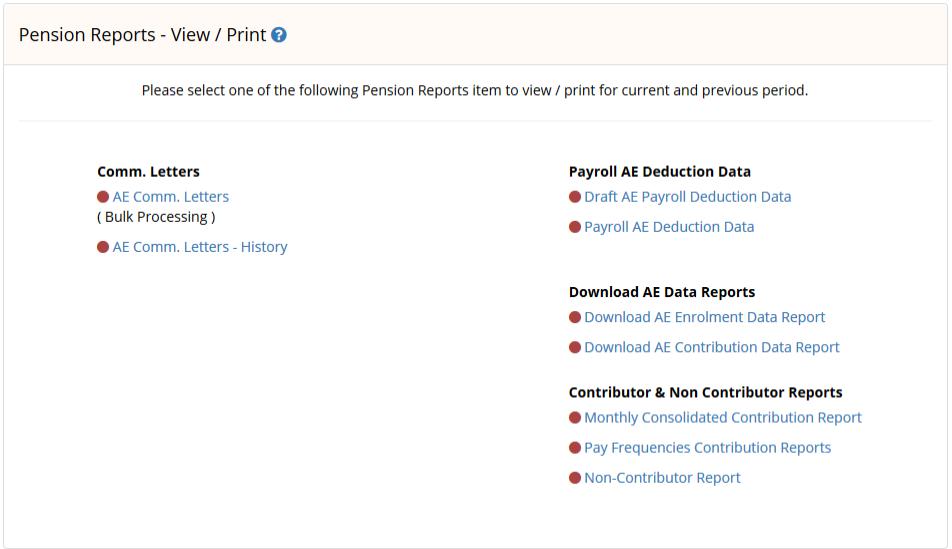
Figure 9.2
We have implemented an extensive user friendly help system including both written and visual communications(demo) for your assistance. In addition to the exclusive help website we have also placed page level help which will guide you throughout the application.
Click here to visit our Help website.
Go to Top © Copyright Intersoftware Solutions Limited.